Host an Event
Hosted events can be created as either public and private events. * Public events are visible to all nearby players on the Roll for Group website * Private events are only visible to players who are invited or shared the match url
Players need to have a valid Roll for Group account to host an event.
Navigate to the Host Event Page
To create an event, select "Host Event" from the top menu, found when viewing the "Events" page.
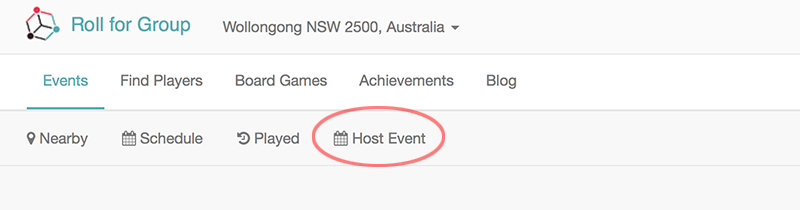
Host Event Buttons
All event details are alterable after creation.
Entering Event Details
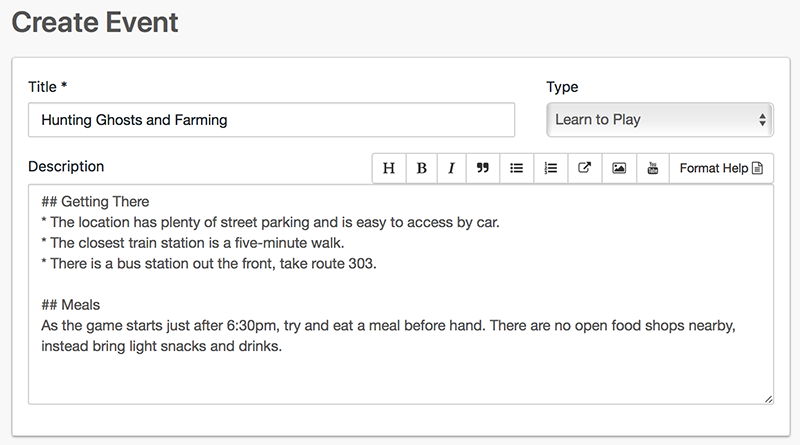
Setting the Title
The event title is the headline for the game. Try and pick a title that is both eye-catching and straightforward. The title should encourage players to open the event.

Create Title
The title is the event headline for other nearby players to see when the game lists on the find match page.
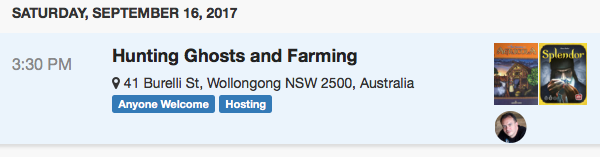
Event Title Listed
When sharing the event page on social media, the title of the page will display in a social media card.

Event Title Social Cards
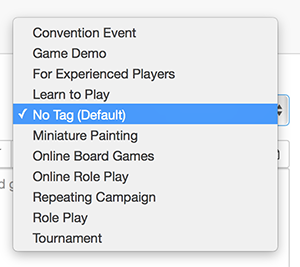
Select a Tag
Tags are used to indicate what type of event will be hosted. Tags are shown in the event listing on Roll for Group to help distinguish game types.
Event Title Social Cards
Different game tags are available, depending on what type of event being hosted.
For Conventions
- Convention Event - The event will take place at a convention.
For Game Stores and Publishers
- Game Demo - You are teaching people how to play a new games, that may not be released yet.
- Learn to Play - You are teaching people how to play the games.
- Miniature Painting - You will be hosting miniature painting.
- Tournament - For hosting tournament events, were players scores will be recorded, possibly with elimination and or prizes.
For Private Events
- No Tag - No tag will be shown on the event.
- For Experienced Players - Only people who know how to play the game you are hosting should join.
- Online Board Games - The game will be hosted virtually, for example on Tabletop Simulator
- Repeating Campaign - For events that require regular attendance over a series of multiple campaigns.
For Role Players
- Roleplay - You are hosting a role play event, such as D&D.
- Online Roleplay - The game will be hosted virtually, and is role play focused.
Creating Notes
Notes show public information displayable to any players wanting to view the event. The notes section only shows when players open the event. The notes section can be quite lengthy and should include any additional information players need to know when attending. Potential information includes:
- How to Identify the Location
- Parking or Public Transport
- Food Arrangements
Event Notes
The notes support markdown syntax, which can be used to include detailed document structure including explainer videos, images, external links as shown below.
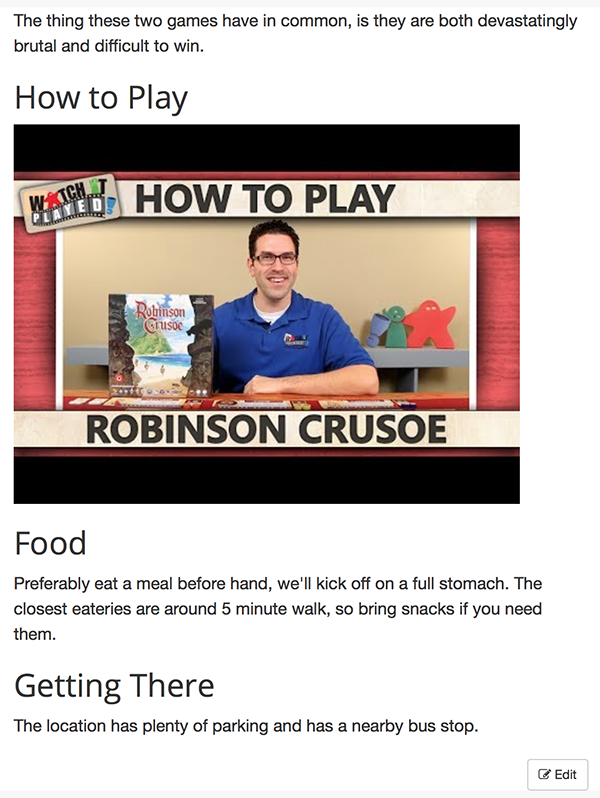
Rendered Event Notes
A comprehensive explanation of markdown format is available here.
Scheduling the Game
To schedule a game, select the date, start time and end time. Use the date control to select the date.
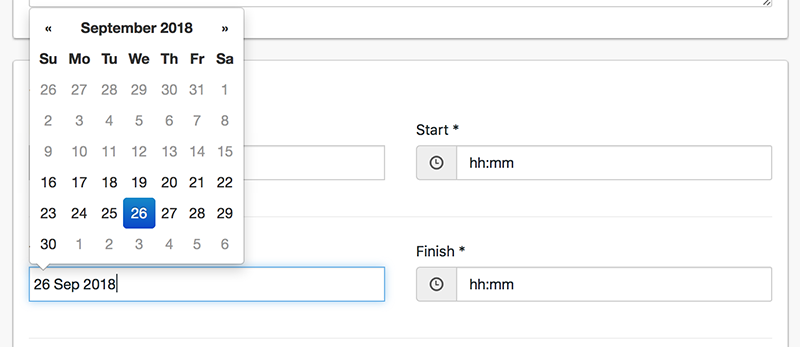
Events Select Date
Select the start and end time from the clock control. The hours are in 24-hour format, and the minutes appear once the hours are selected.
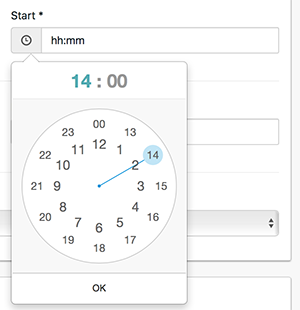
Events Select Date
Once the minutes are selected, choose "OK" to lock in the time. The end time should be after the start time.
All local events will be shown, in the order from when they start at the top to when they finish at the bottom. Games will stay on the public list until the end time of the game passes, after which the game will show in the player history of those who attended.
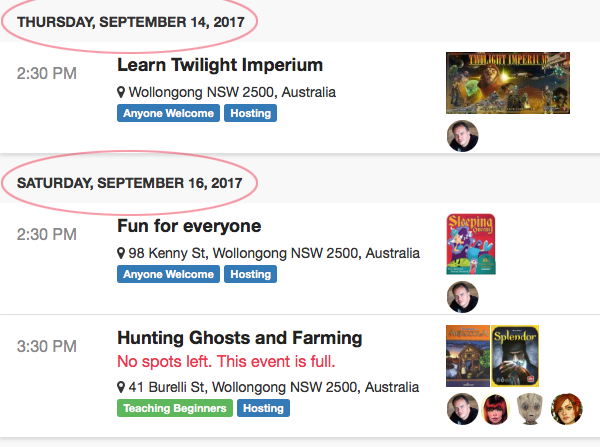
Events Date List
Repeating Events
When an event reoccurs, set the reoccuring time period. Reoccuring event's will automatically be recreated after the first event expires. Reoccuring events can be stopped by altering the existing event never repeat.
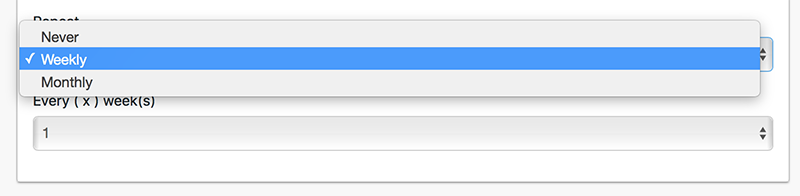
Reoccuring Events
The following reoccur options are available * Never - the event does not repeat * Weekly - the event occurs every (x) weeks * Monthly - the event occurs every month on the (x) week
The value (x) for Weekly and Monthly can be set to any number from 1 to 4.
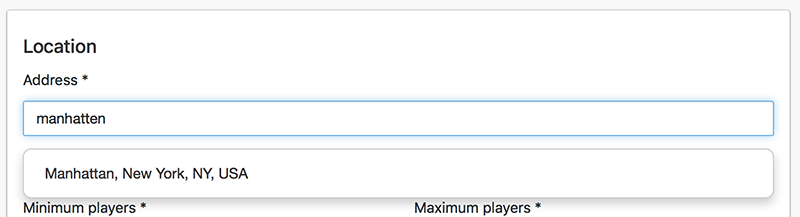
Event Location
The location identifies where to find the event. When holding an event at a public venue, usually the address of the location is used for the event. When holding an event at a private venue, the surrounding suburb can be used.
As events are listed according to the distance from the viewing player, the game location will determine who can see the event. When players sign up to Roll for Group they enter their location, and only nearby events show.
On the event page, the location renders as a Google map showing the location of the event to all players.
Event location
When creating a match at a private venue, such as a persons' house, the location may be the location of the surrounding suburb to avoid having the personal details of a house shown to strangers.
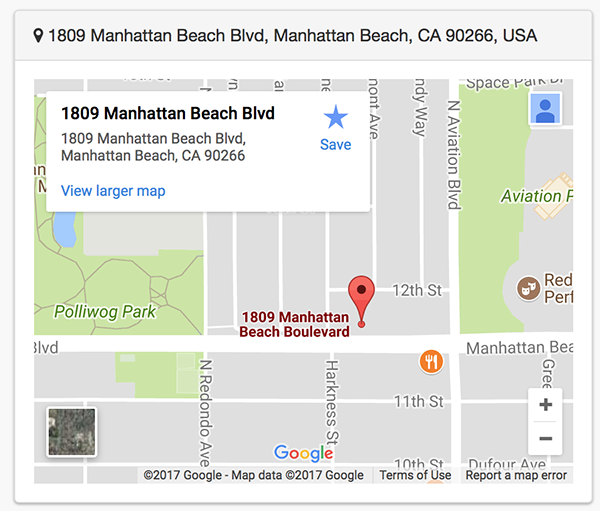
Events map
Number of Players
The number of players indicates the maximum and the minimum number of players. Players will be able to join the event, up until the maximum number of players has been reached. The game is then marked as full and players can no longer attend. Setting a maximum number creates an incentive for players to sign up and secure a position. For a small event, the number of players may be limited to the number of players for the game. For larger events with many games, the number of players may be limited to the size of the venue.
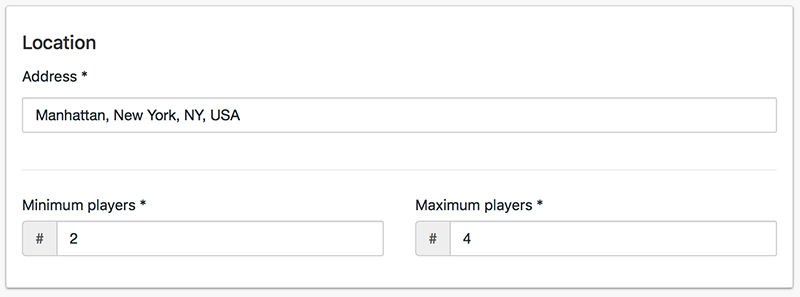
Event Player Count
The number of open seats will be tracked against player sign ups. When the number of sign ups approaches the total number of seats, a warning is displayed to any users viewing the matchlist indicating the match is nearly full.

Open Seats
The event will remain in the list visible to players, even after it is full. The host may decide to edit the event and increase the number of players at any time.
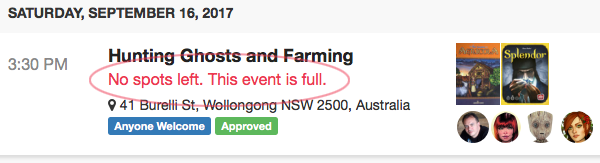
Full Seats
Venue Details
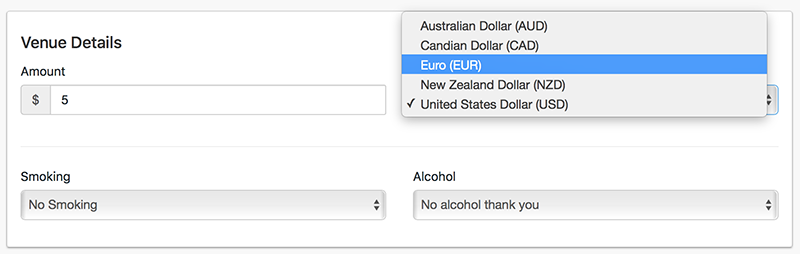
Entry Fee
The entry fee is the cost charged to a player to attend the event. The multiple currencies will ensure the fee is shown in the currect format. If the fee is left blank, the charge is hidden.
Badge Charge
The entry fee will then be displayed in the list of matches, next to the game.
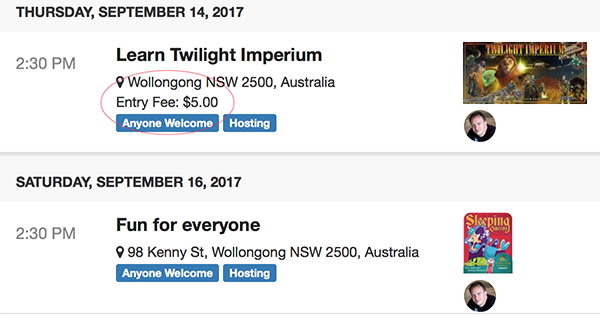
Entry Fee List
Social Contracts
Finally, the social contracts indicate whether the event is drinking or smoking friendly.

Events Date List
Creating Draft Match
Once the above information is entered, a draft event can be created. A draft match is a personal preview of the event information that can be refined and later published.
All details of the match can be modified after the event is created. Additionally it is possible to delete the event if they change their mind about hosting later on.
To create a draft event, press the "Create Draft Event" at the bottom of the screen.
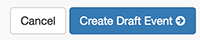
Create Draft Event
All draft events will have an information box at the top of the event, indicating the event is a draft and not visible to other players.
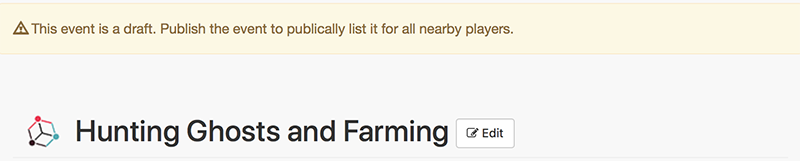
Confirm Draft Event
Checking Details
Once the draft event is created, then a preview of the event will be shown. The draft event is not visible to other players, and can be deleted at any time.
The title, description, game details, location map are all visible as players will see them. All details can be changed to ensure the event looks correct.